Since this blog is relatively new, I do not expect much traffic. Well, how can I be certain of this? May be this blog has just taken off and lots of people are already visiting it 😉.
Hmm, how can I find out more? Currently, I do not have any visibility of this data. It would be nice if I could find out information like:
- Who’s currently visiting by blog?
- How many visitors do I get in an hour or day or a month?
- Where’s the traffic coming from?
Well, here comes Google Analytics, which is a web analytics service offered by Google that tracks and reports website traffic.
OK, so how do I get this integrated?
My current theme explains how can I use Google Analytics and also more advanced Google Tag Manager, (may be I can explore that in a later post).
This link on Google’s site answers tons of questions about getting started so lets look at my steps:
-
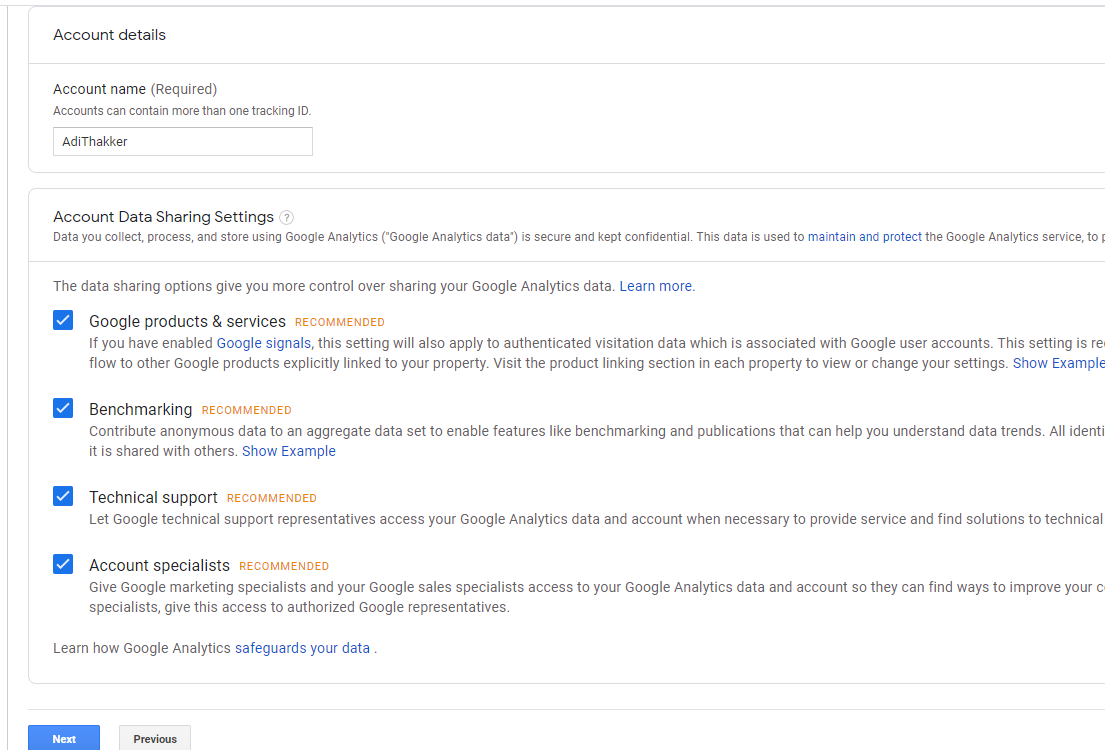
Since I already had a gmail account, I proceeded straight to the Analytics Account Setup where I entered an account name and left the defaults checked as those are recommended.
-
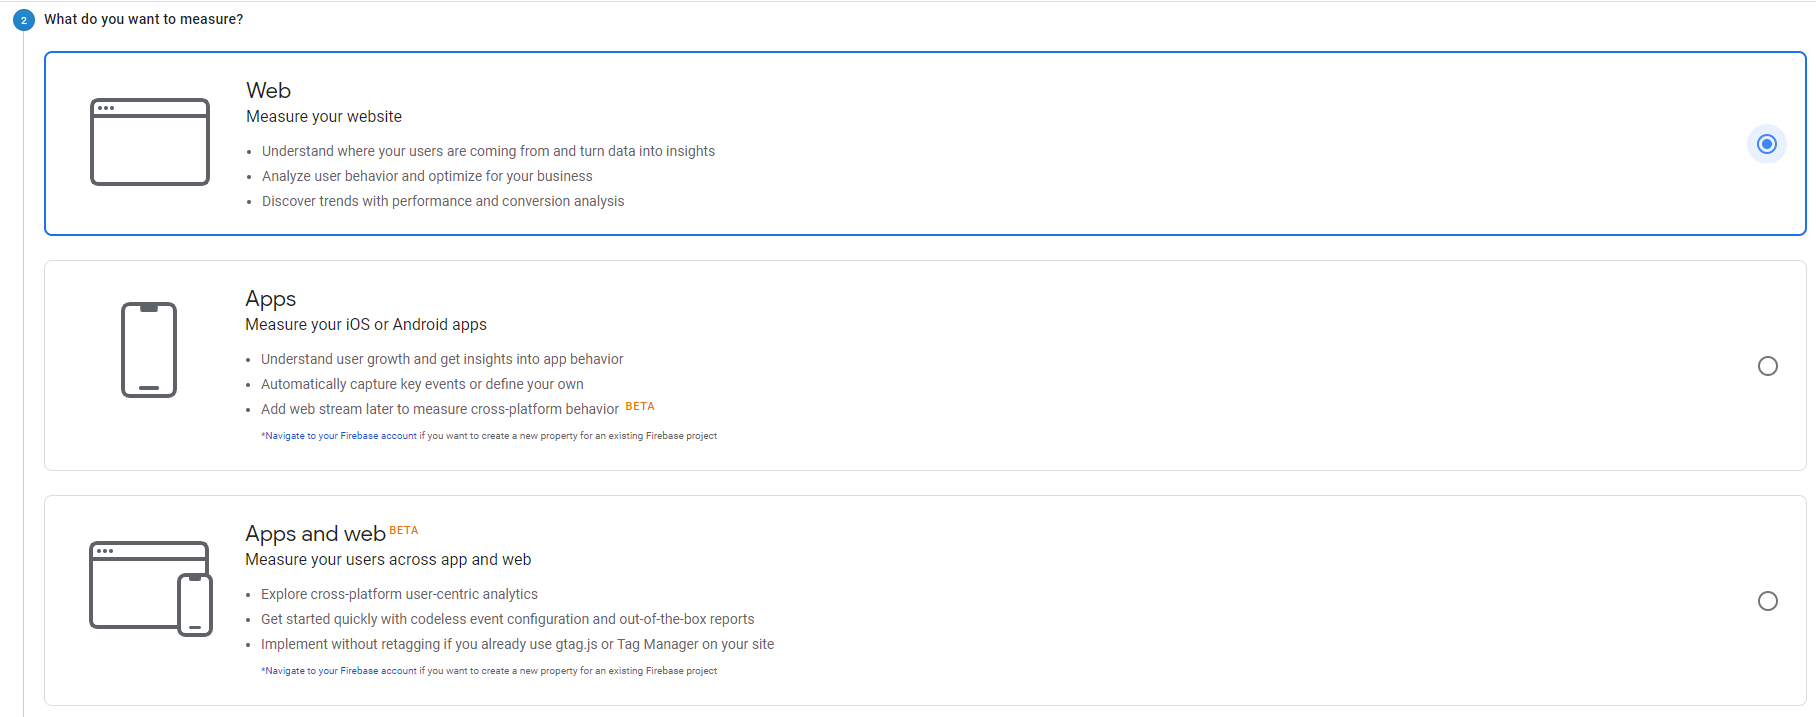
Selected the Web Option as that’s what I was looking for.
-
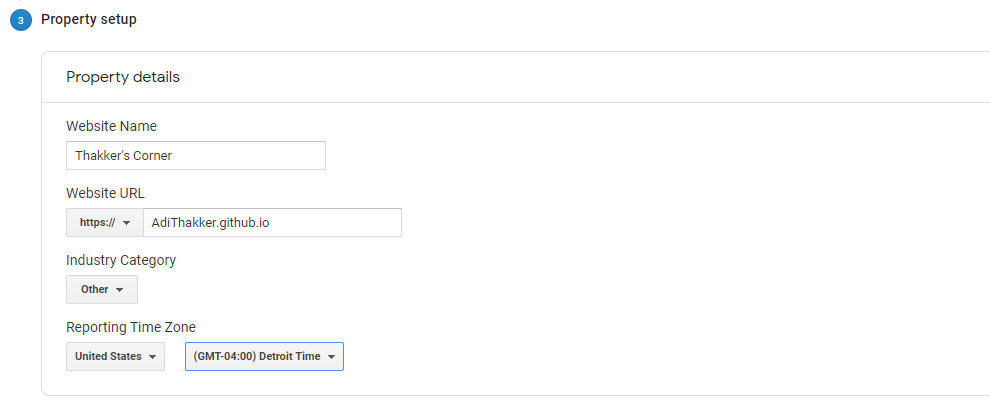
Entered relevant details about my blog site and accepted user agreements.
-
Made note of the Tracking ID which is in the format UA-123456789-1.
-
Updated my _config.yml google_analytics value with that Tracking ID number.
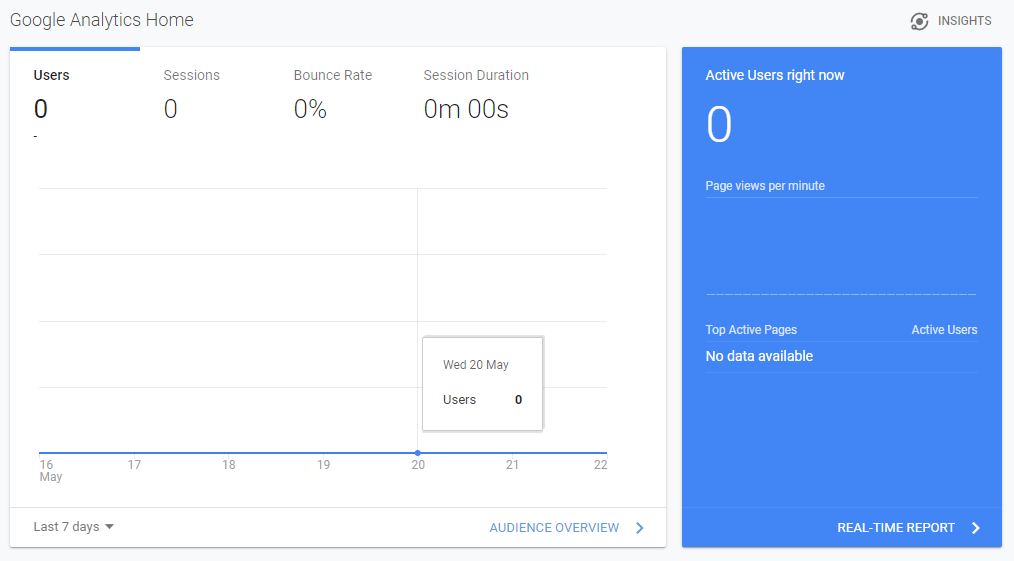
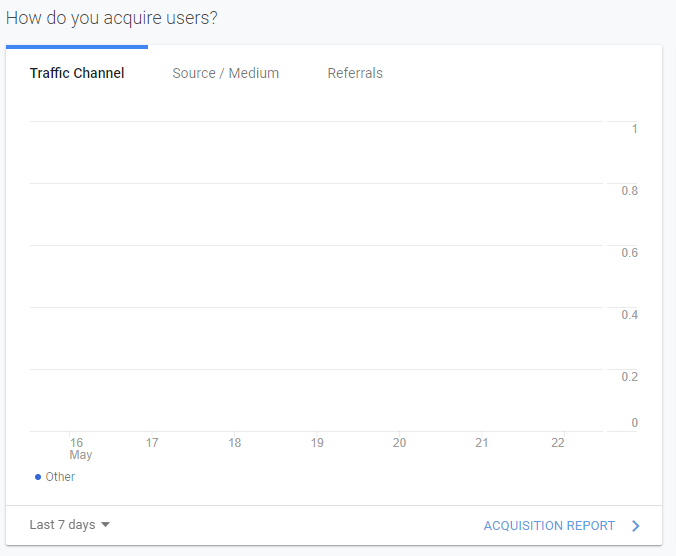
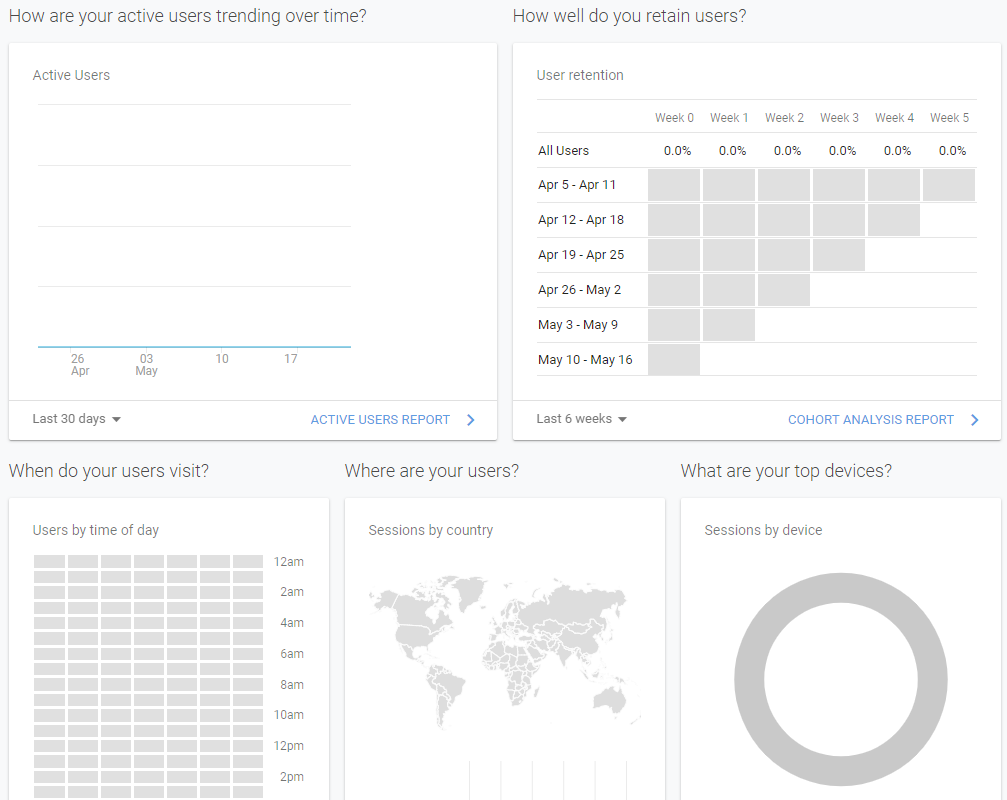
Following is the Analytics default view that showed up after my account was created. You can see it provides several different metrics related to my blog.
Cool, that was all very easy to get started… Now i’ll start monitoring and see what activity gets logged.
Meanwhile I’ll also explore this link to further customize and understand my analytics experience.
In future posts I might also explore more information about my blog for search engines.