In the previous two posts we saw, how to get started with Blazor and how to integrate with SignalR.
In this post we will integrate Azure AD with our Blazor App.
NOTE: This post walks through how I got it working in my App. You can alternatively follow the docs version which is very detailed and my reference too.
OK, the first thing I had to do was to setup Azure AD and that included:
Creating a new AD tenant. Refer here for more help
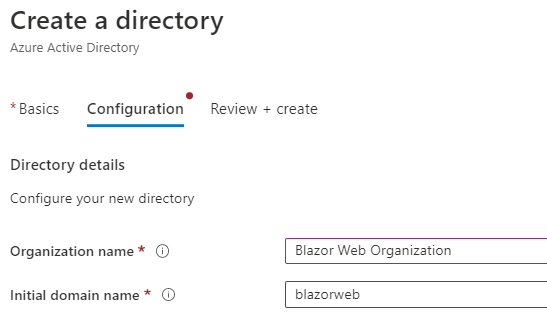
Note: I created an initial domain name with blazorweb, so the fully qualified domain was blazorweb.onmicrosoft.com
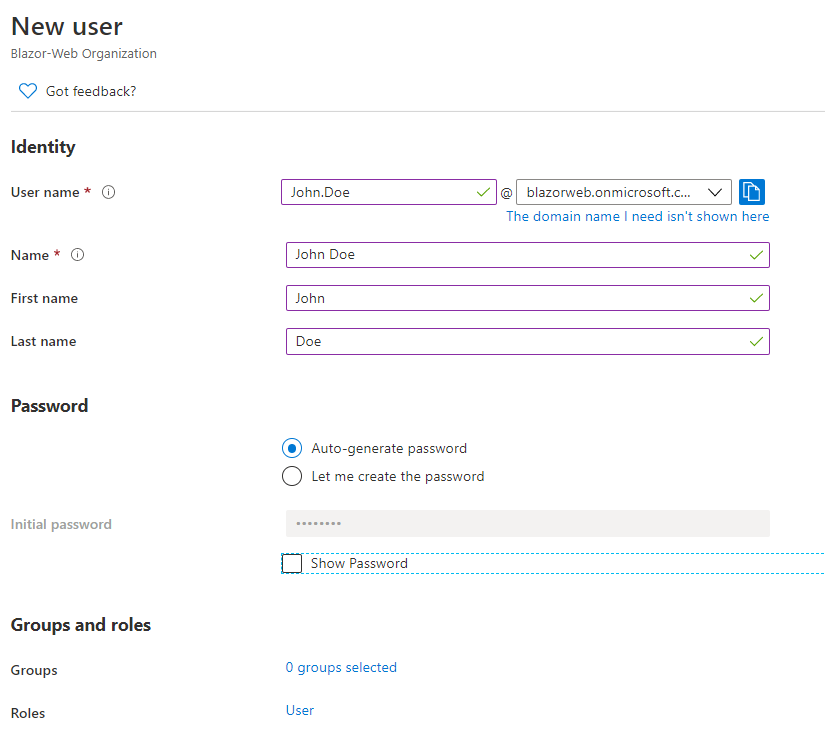
Next, was creating a new user to test Authentication.
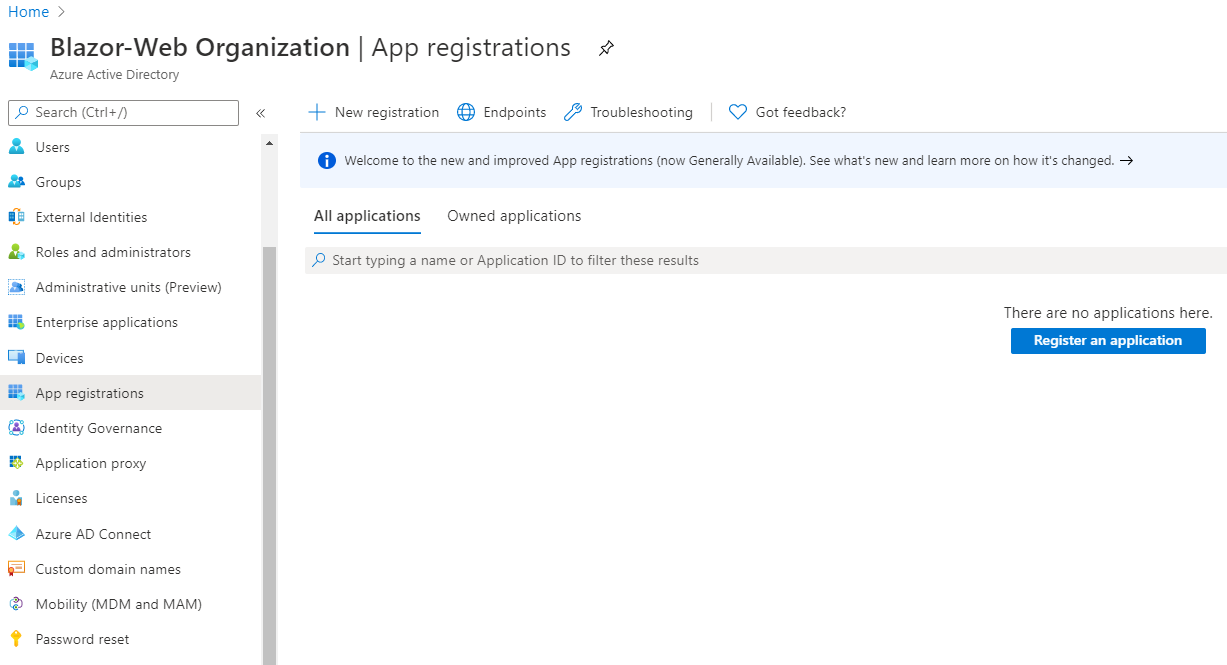
After that, I had to register the Blazor apps (If you remember there are two, Blazor-Web.Server & Blazor-Web.Client)
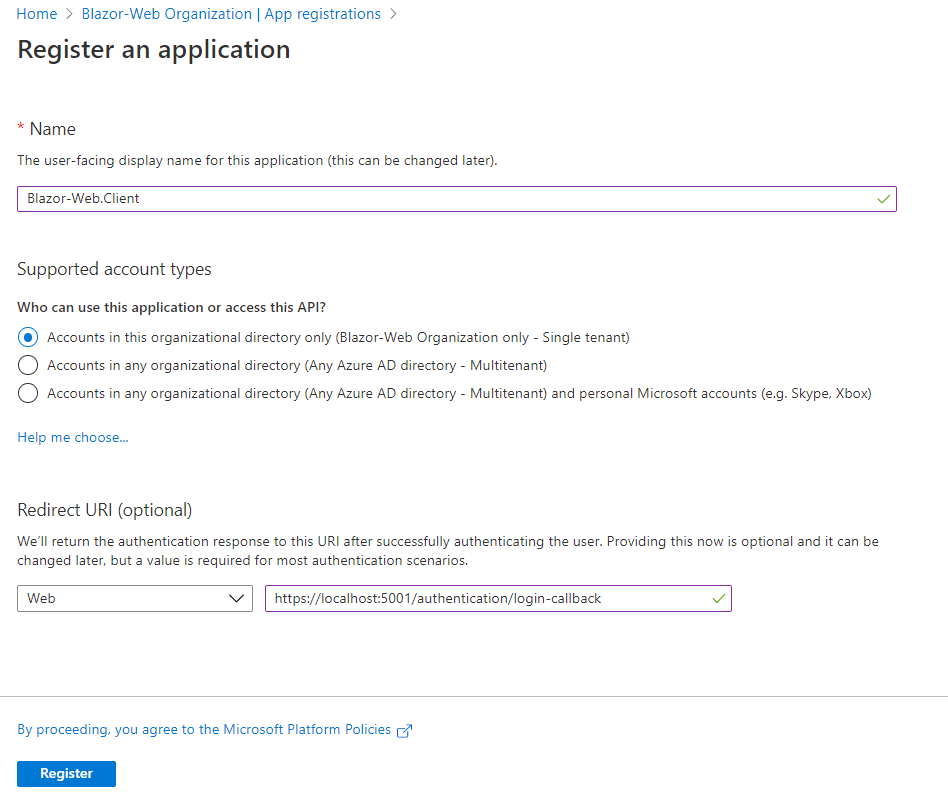
Note: Following is the screen for registering Apps in the Blazor-Web AD tenant.
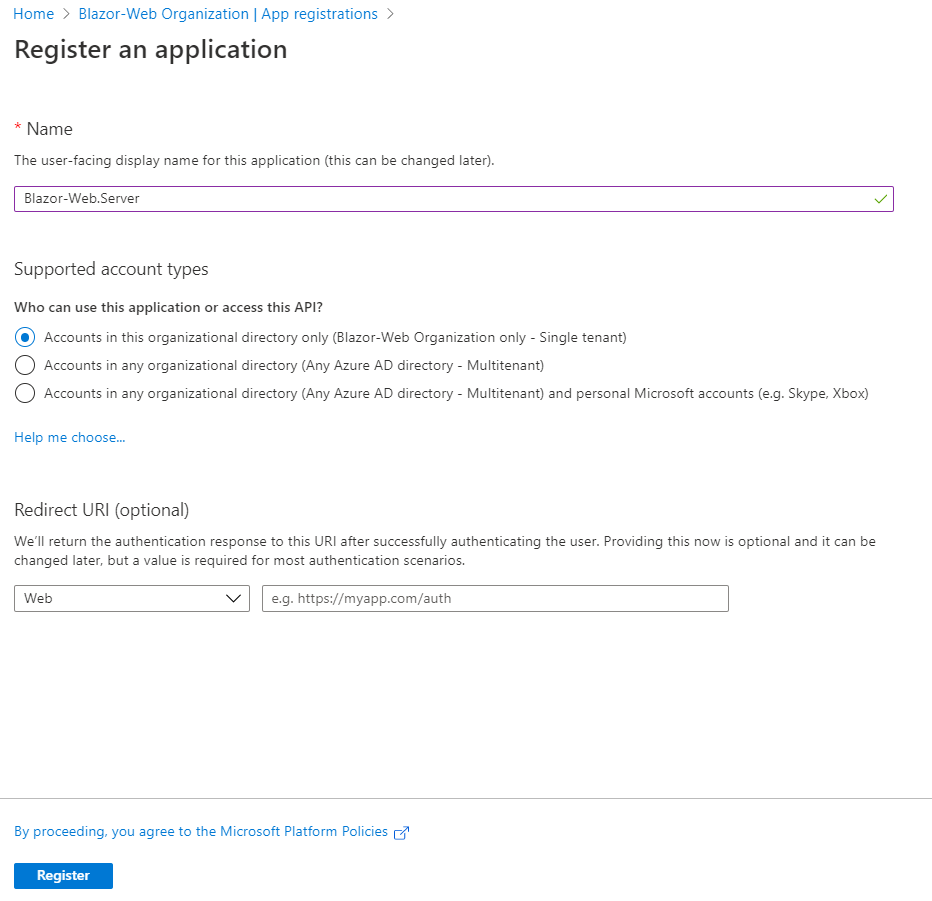
For the server app, I just entered the appropriate name (this can be anything) and selected the appropriate supported account type. I left Redirect URI empty as that’s not needed.
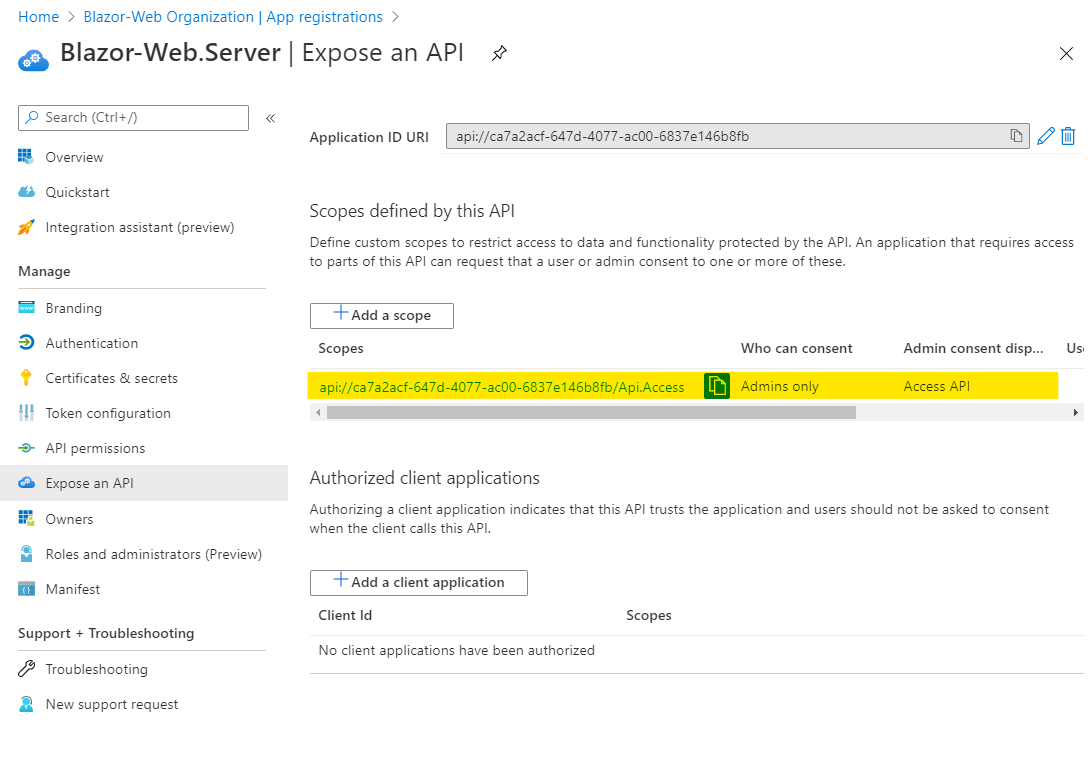
Then I removed all the API permissions and added a scope with the name API.Access as shown here:
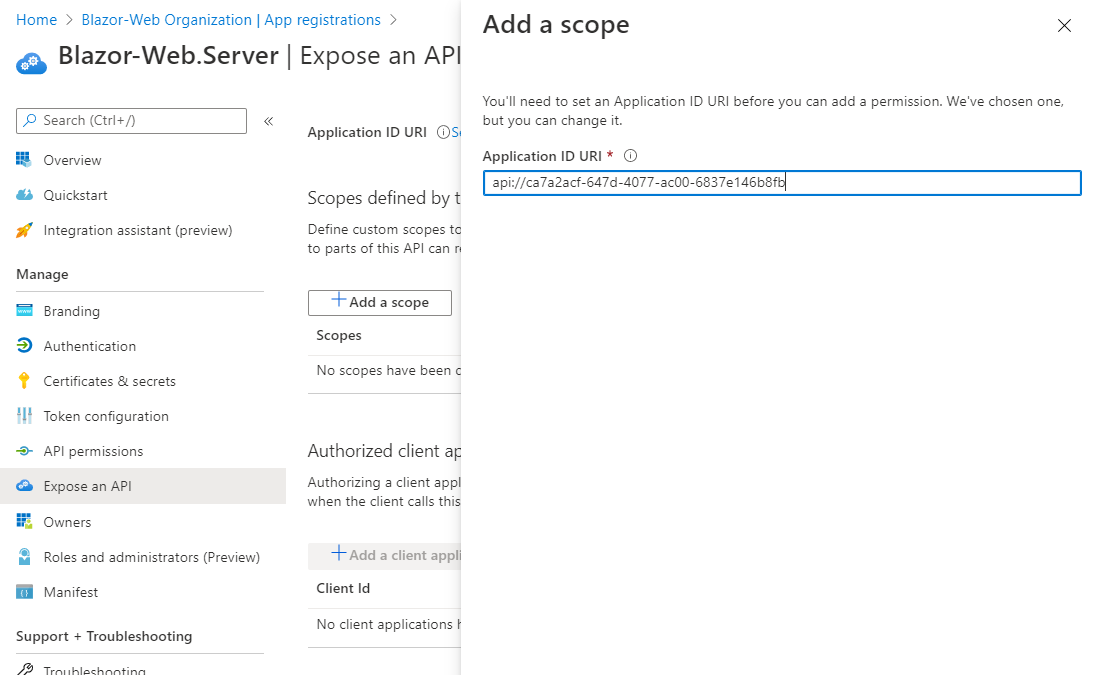
Note: I had to make note of the Application ID & Tenant ID (you can get those values from the Overview tab) as they are needed for configuration settings later.
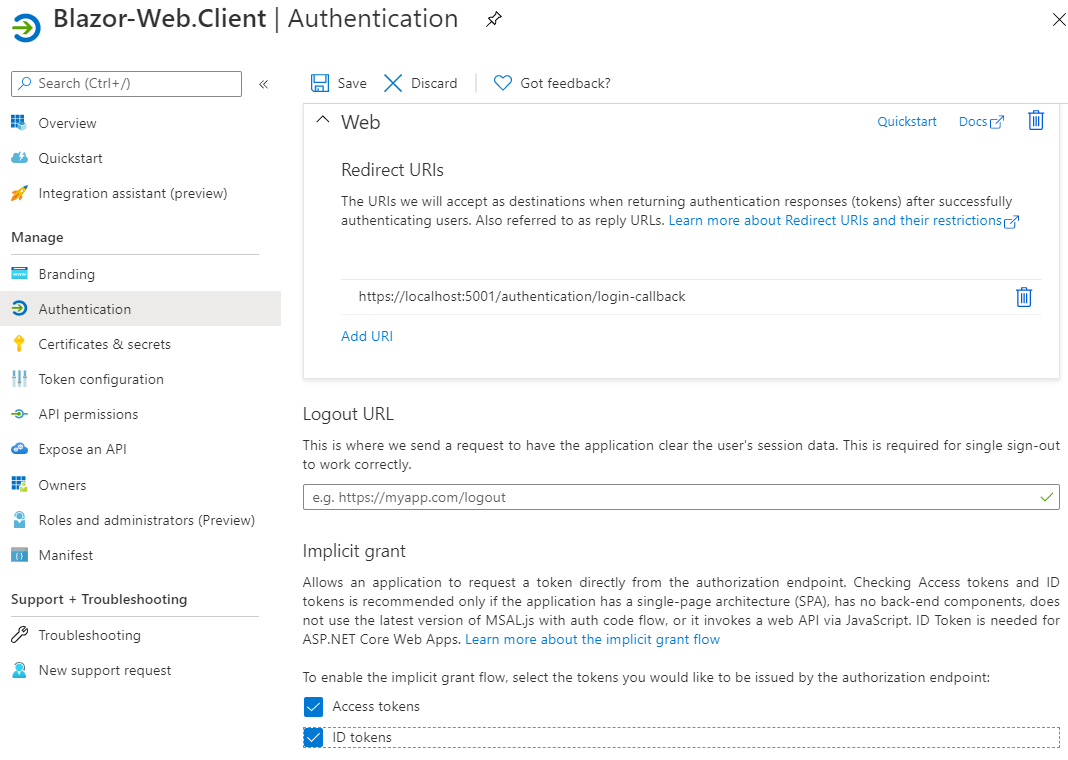
OK, next was registering the Blazor-Web.Client app and in this case I had to enter the Redirect URI value which is what gets called back after authentication (in our case its the locally hosted Blazor client app url or the default one with port 5001)
For Implicit Grant I checked both available options.
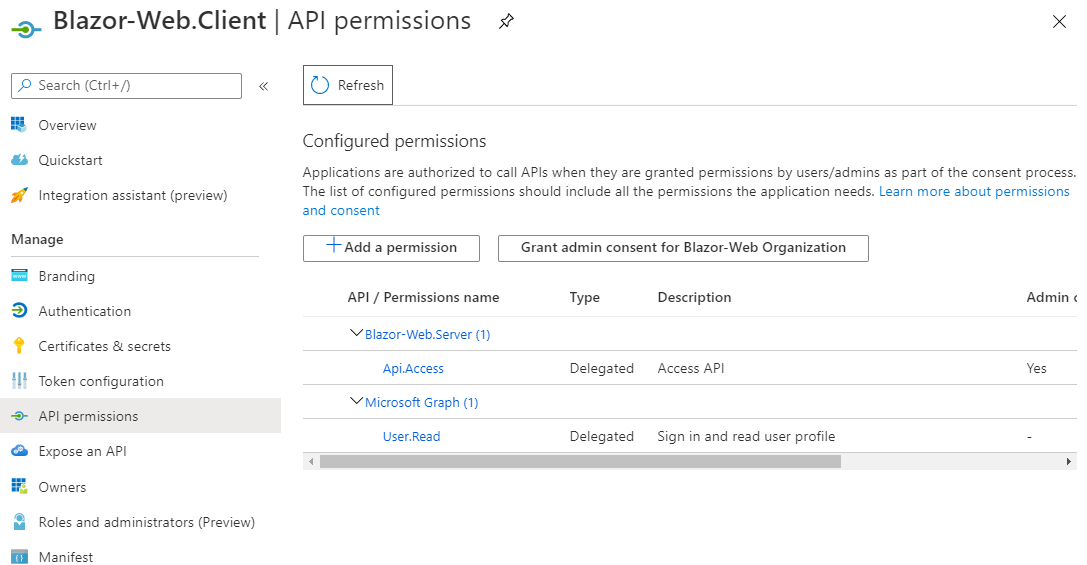
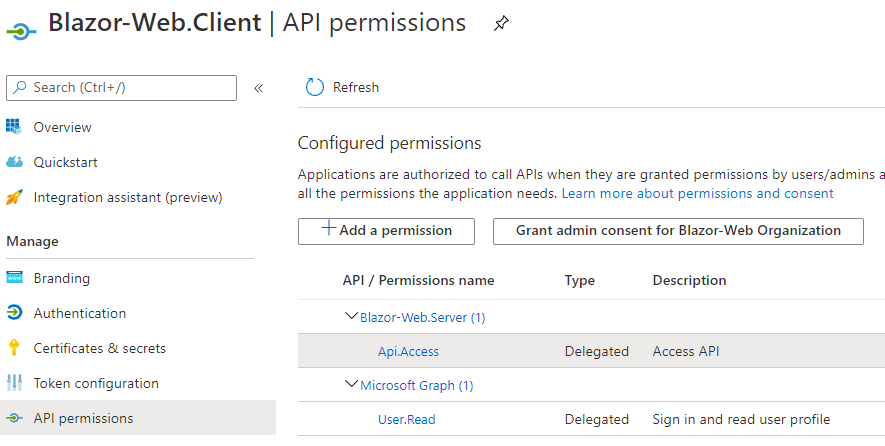
And for API Permissions, I added API.Access scope from the server registration as shown here:
Once, the apps were registed in Azure AD, Next was to modify the Blazor apps for adding Authentication related code. So I first installed Microsoft.AspNetCore.Authentication.AzureAD.UI NuGet package and modified ConfigureServices & Configure methods in the Startup.cs of the Blazor-Web.Server project as follows:
public void ConfigureServices(IServiceCollection services)
{

    services.AddControllersWithViews();
    services.AddRazorPages();
    services.AddSignalR();
    services.AddAuthentication(AzureADDefaults.BearerAuthenticationScheme)
        .AddAzureADBearer(options => Configuration.Bind("AzureAd", options));
    services.AddSingleton<TimerService>();
}

public void Configure(IApplicationBuilder app, IWebHostEnvironment env)
{
    if (env.IsDevelopment())
    {
        app.UseDeveloperExceptionPage();
        app.UseWebAssemblyDebugging();
    }
    else
    {
        app.UseExceptionHandler("/Error");
        // The default HSTS value is 30 days. You may want to change this for production scenarios, see https://aka.ms/aspnetcore-hsts.
        app.UseHsts();
    }

    app.UseHttpsRedirection();
    app.UseBlazorFrameworkFiles();
    app.UseStaticFiles();

    app.UseRouting();

    app.UseAuthentication();
    app.UseAuthorization();

    app.UseEndpoints(endpoints =>
    {
        endpoints.MapRazorPages();
        endpoints.MapControllers();
        endpoints.MapHub<ClientHub>("/timer");
        endpoints.MapFallbackToFile("index.html");
    });
}
Next, I modified it’s appsettings.json to include following Azure AD configuration:
"AzureAd": {
    "Instance": "https://login.microsoftonline.com/",
    "Domain": "blazorweb.onmicrosoft.com",
    "TenantId": "{YOUR AD TENANT ID}",
    "ClientId": "ca7a2acf-647d-4077-ac00-6837e146b8fb"
  }
Next, was to modify Blazor-Web.Client project for Azure AD Authentication with importing Microsoft.Authentication.WebAssembly.Msal NuGet package and modifing the program.cs to add the following:
builder.Services.AddMsalAuthentication(options =>
{
    builder.Configuration.Bind("AzureAd", options.ProviderOptions.Authentication);
    options.ProviderOptions.DefaultAccessTokenScopes.Add("api://ca7a2acf-647d-4077-ac00-6837e146b8fb/Api.Access");
});
Then, appsettings.json file as follows:
"AzureAd": {
    "Authority": "https://login.microsoftonline.com/{YOUR AD TENANT ID}",
    "ClientId": "f6fbbd51-e7fd-48ef-bbea-87b437e391e6",
    "ValidateAuthority": true
  }
Cool, Now Blazor leverages several built-in Authentication & Authorization components, so first I had to update Blazor-Web.Client project’s _Imports.razor for the Microsoft.AspNetCore.Components.Authorization namespace and add the following script tag to the index.html page in wwwroot folder.
<script src="_content/Microsoft.Authentication.WebAssembly.Msal/AuthenticationService.js"></script>
Next was to add a new RedirectToLogin.razor component (as the name indicates, it redirects the user to the correct authentication login) under shared folder in the client project as shown here:
@inject NavigationManager Navigation
@using Microsoft.AspNetCore.Components.WebAssembly.Authentication
@code {
    protected override void OnInitialized()
    {
        Navigation.NavigateTo($"authentication/login?returnUrl=" +
            Uri.EscapeDataString(Navigation.Uri));
    }
}
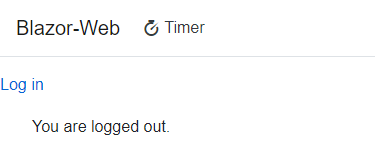
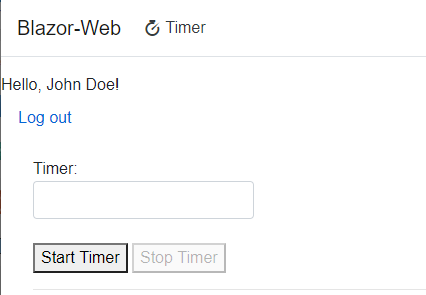
Next another LoginDisplay.razor component. This component displays the Login link and the authorized user name after authentication.
@using Microsoft.AspNetCore.Components.Authorization
@using Microsoft.AspNetCore.Components.WebAssembly.Authentication
@inject NavigationManager Navigation
@inject SignOutSessionStateManager SignOutManager

<AuthorizeView>
    <Authorized>
        Hello, @context.User.Identity.Name!
        <button class="nav-link btn btn-link" @onclick="BeginLogout">
            Log out
        </button>
    </Authorized>
    <NotAuthorized>
        <a href="authentication/login">Log in</a>
    </NotAuthorized>
</AuthorizeView>

@code {
    private async Task BeginLogout(MouseEventArgs args)
    {
        await SignOutManager.SetSignOutState();
        Navigation.NavigateTo("authentication/logout");
    }
}
Then, I updated App.razor with the new (CascadingAuthenticationState, AuthorizeRouteView) components
<CascadingAuthenticationState>
    <Router AppAssembly="@typeof(Program).Assembly">
        <Found Context="routeData">
            <AuthorizeRouteView RouteData="@routeData" DefaultLayout="@typeof(MainLayout)">
                <NotAuthorized>
                    <RedirectToLogin />
                </NotAuthorized>
            </AuthorizeRouteView>
        </Found>
        <NotFound>
            <LayoutView Layout="@typeof(MainLayout)">
                <p>Sorry, there's nothing at this address.</p>
            </LayoutView>
        </NotFound>
    </Router>
</CascadingAuthenticationState>
Finally updating MainLayout.razor to include the LoginDisplay component:
@inherits LayoutComponentBase

<div class="main">
    <NavMenu />
    <LoginDisplay />
    <div class="content px-4">
        @Body
    </div>
</div>
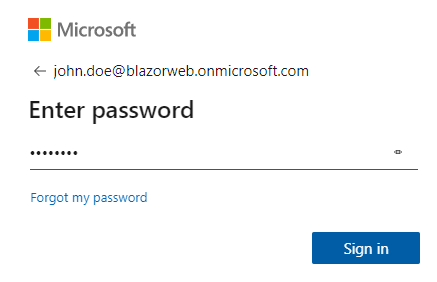
Running the app next, brought up permissions request screen and when proceeding further with the correct username and password, I found out that the Blazor-Web.Client app still needed admin approval, this is shown below:
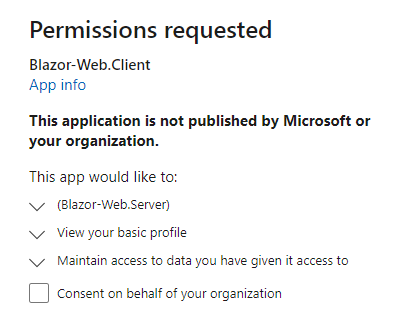

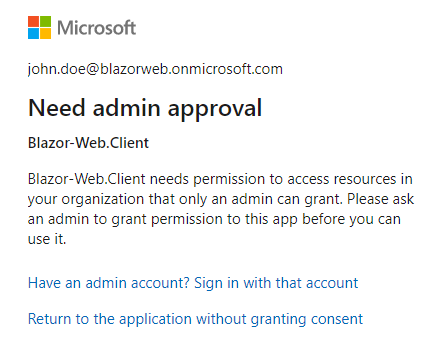
Note: This was due to the fact that when I registered Blazor-Web.Client app, I had set up for requiring Admin consent. When I changed that setting by granting admin consent as shown below, everything worked and I was able to successfully login using Azure AD.
Alright, there were lots of steps and this ended up being a long post with several screen captures but we got our Blazor App integrated with Azure AD.
I have included the source code here if you want to explore it further. Meanwhile, I hope you find this helpful!!!