So far, I have used my office laptop for blogging and that has WSL installed. I wanted to download WSL 2 on it but couldn’t as the Windows version is controlled by corporate IT. I had a personal laptop sitting around, so I decided to use that for my blog using WSL 2.
The first thing I wanted to download was the new Windows Terminal, so I headed to the Windows Store and got it. Note: If you would like to customize the terminal, there are some nice instructions on how to do it by Scott Hanselman here. Following is my Sorin theme:

The instructions on getting started with WSL are very well documented and so I started there.
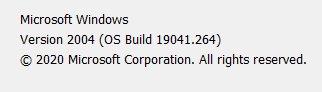
Firstly, I updated my Windows version to the one that supports WSL 2, shown here:
As instructed, I then enabled Windows Subsystem for Linux as shown below:
dism.exe /online /enable-feature /featurename:Microsoft-Windows-Subsystem-Linux /all /norestart
And then enabled Virtual Machine Platform by running:
dism.exe /online /enable-feature /featurename:VirtualMachinePlatform /all /norestart
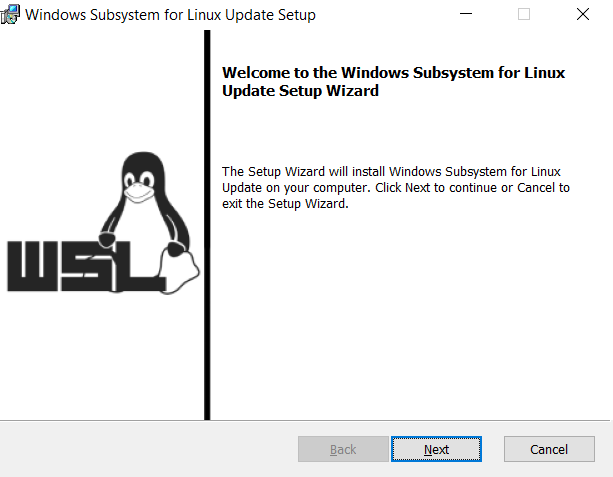
After the restart, when I tried to set WSL default version to 2, I got a message stating WSL 2 requires an update to its kernel component, so I proceeded with the update as shown below by downloading it from here
Next was installing Ubuntu from Windows Store, setting up username, password, update default version to 2 and quick verification via:

I already had VS Code and git installed on my laptop so I went ahead with VS Code update and launched it from command line as indicated here which installed VS Code server and then launched it. Once VS Code started, it prompted me to install Remote - WSL extension, which I proceeded with. This extension enables you to use WSL as your full-time development environment directly from VS Code and lets you develop in a Linux based environment. The previous link explains more about its functionality, so I won’t bore you here 😉.
OK, so the next step was to clone my repo and start installing Jekyll. But before that, I had to do a quick system packages update in the VS Code bash terminal via:
sudo apt update
sudo apt -y upgrade
Now, Jekyll requires a working Ruby development environment which includes libraries, so I then executed commands to install Jekyll and required build tools as follows:
sudo apt -y install make build-essential
sudo apt -y install ruby ruby-dev
Next, I had to install Bundler which is a tool used to manage Gem dependencies via:
gem install bundler
And then finally Jekyll via:
bundle install
gem install jekyll
Note: when running bundle install, I got an error for nokogiri dependency which I was able to resolve by issuing command which is mentioned on their site:
sudo apt-get install build-essential patch ruby-dev zlib1g-dev liblzma-dev
gem install nokogiri
After which, I was able to successfully build the Jekyll site via:
bundle exec jekyll serve
There are still some minor tweaks needed for my dev env. on my personal laptop, which I’ll be updating soon… but for now I am able to work on my blog from my personal laptop, So more to come!!!