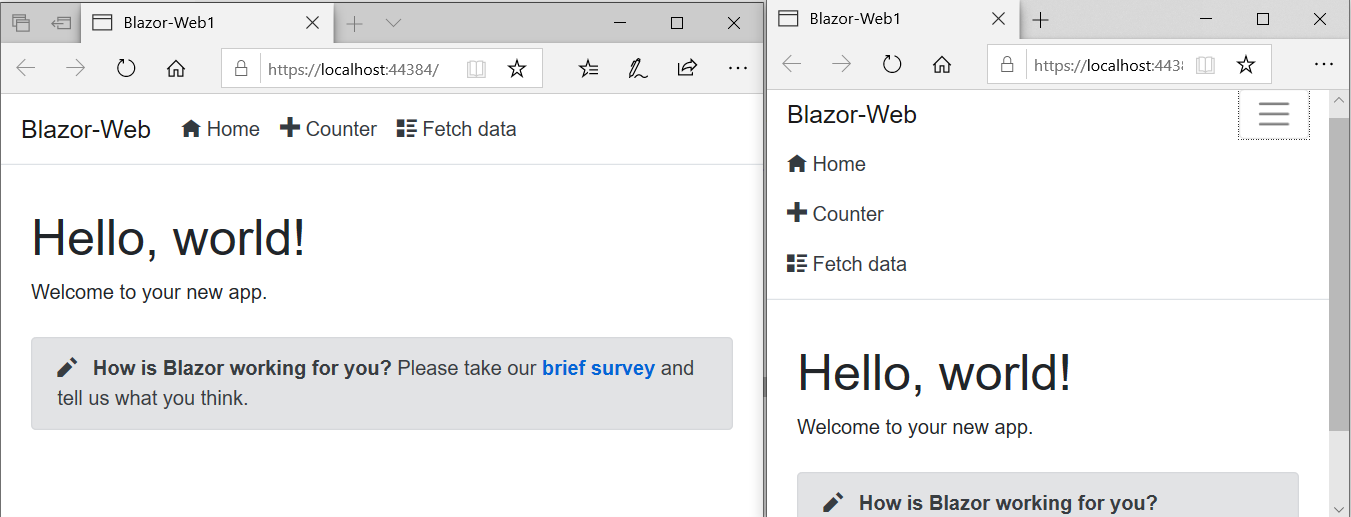
In the previous post, we saw how to get started with Blazor and customized the default layout as shown below:

In this post we continue with it and see how we can integrate Timer functionality using SignalR.
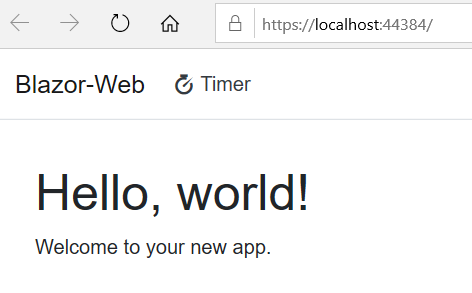
OK, so the first thing I did after changing the layout was to clean up the default Navmenu items and other razor, controller & shared components related to it. So the layout updated to this:

Note: Blazor uses open iconic icons sets so I changed the Navmenu link to show the new icon for the Timer one as shown here:
<NavLink class="nav-link text-dark" href="" Match="NavLinkMatch.All">
    <span class="oi oi-timer" aria-hidden="true"></span> Timer
</NavLink>
The next step was to add SignalR NuGet components. So I added Microsoft.AspNetCore.SignalR library to the BlazorWeb.server project.
If you have read about SignalR then you know that it uses Hub as a central component to communicate betwen clients & servers. So in the BlazorWeb.Server project, I added ClientHub class and inherited from the Hub class as shown here:
using Microsoft.AspNetCore.SignalR;

namespace BlazorWeb.Server.Hubs
{
    public class ClientHub : Hub
    {
        private readonly TimerService _timerService;

        public ClientHub(TimerService timerService) => _timerService = timerService;

        public async Task Start() => await Task.Run(() => _timerService.Start());

        public async Task Stop() => await Task.Run(() => _timerService.Stop());
    }
}
Few key points about the above code is that the ClientHub class references TimerService class which encapsulates the actual timer logic.
OK, so the next step was to code the TimerService class which is shown below:
using System.Timers;
using BlazorWeb.Server.Hubs;

 namespace BlazorWeb.Server.Services
{
    public class TimerService
    {
        private Timer _timer;
        private IHubContext<ClientHub> _hub;

        public TimerService(IHubContext<ClientHub> hub)
        {
            if (_timer == null)
            {
                _timer = new Timer(1000);
                _timer.Elapsed += Timer_Elapsed;
                _hub = hub;
            }
        }

        private void Timer_Elapsed(object sender, ElapsedEventArgs e)
        {
            if (_hub != null)
                _hub.Clients.All.SendAsync("ReceiveTime", DateTime.Now.ToString());
        }

        public void Start() => _timer.Start();

        public void Stop()
        {
            _timer.Stop();

            if (_hub != null)
                _hub.Clients.All.SendAsync("StopTime");
        }
    }
}
In the above code snippet, you can see that the TimerService class accepts IHubContext of ClientHub generic type dependency and then communicates with all its clients via Clients.All.SendAsync method. This method takes the method name which needs to be invoked along with appropriate parameters. Also the Timer_Elapsed handler invokes all this when it gets called due to the timer event.
OK, the next step then was to modify ConfigureServices method in Startup.cs class in the BlazorWeb.Server project to hook up SignalR, and this TimerService class.
public void ConfigureServices(IServiceCollection services)
{

    services.AddControllersWithViews();
    services.AddRazorPages();
    services.AddSignalR();
    services.AddSingleton<TimerService>();
}
Note: The TimerService is registered as Singleton here. We only want single instance of TimerService class to be created.
Next, was to hook up the ClientHub in the Configure method again in Startup.cs class.
public void Configure(IApplicationBuilder app, IWebHostEnvironment env)
        {
            if (env.IsDevelopment())
            {
                app.UseDeveloperExceptionPage();
                app.UseWebAssemblyDebugging();
            }
            else
            {
                app.UseExceptionHandler("/Error");
                // The default HSTS value is 30 days. You may want to change this for production scenarios, see https://aka.ms/aspnetcore-hsts.
                app.UseHsts();
            }

            app.UseHttpsRedirection();
            app.UseBlazorFrameworkFiles();
            app.UseStaticFiles();

            app.UseRouting();

            app.UseEndpoints(endpoints =>
            {
                endpoints.MapRazorPages();
                endpoints.MapControllers();
                endpoints.MapHub<ClientHub>("/timer");
                endpoints.MapFallbackToFile("index.html");
            });
        }
This was all to get the BlazorWeb.Server project setup.
Now I had to hook up the client side SignalR capability, for which I modified the BlazorWeb.Client project. First, I added the SignalR Microsoft.AspNetCore.SignalR.Client NuGet packaage and then modified index.razor component as shown below:
@page "/"
@using Microsoft.AspNetCore.SignalR.Client
@inject NavigationManager NavigationManager

<div class="form-group">
    <label>
        Timer:
        <input class="form-control input-lg" @bind="_currentTime" />
    </label>
</div>

<button @onclick="Start" disabled="@(IsRunning)">Start Timer</button>
<button @onclick="Stop" disabled="@(!IsRunning)">Stop Timer</button>

<hr>

@code {

    private HubConnection _hubConnection;
    private string _currentTime;
    public bool IsRunning;

    protected override async Task OnInitializedAsync()
    {
        _hubConnection = new HubConnectionBuilder()
            .WithUrl(NavigationManager.ToAbsoluteUri("/timer"))
            .Build();

        _hubConnection.On<string>("ReceiveTime", (currentTime) =>
        {
            if (!IsRunning) IsRunning = true;

            _currentTime = currentTime;
            StateHasChanged();
        });

        _hubConnection.On("StopTime", () =>
        {
            if (IsRunning) IsRunning = false;
            StateHasChanged();
        });

        await _hubConnection.StartAsync();
    }

    Task Start() =>
        _hubConnection.SendAsync("Start");

    Task Stop() =>
        _hubConnection.SendAsync("Stop");

}
In the above code snippet, you can see that _hubConnection.On method is used to register ReceiveTime and StopTime handlers which the Server ends up calling to invoke client communication, where as the Start & Stop methods just call the hubs methods via _hubConnection.SendAsync.
Also some of razor directives used are:
- @using for importing namespaces
- @inject for dependency injection
- @bind for binding HTML elements/ properties to class properties
- @onclick for handler delegates
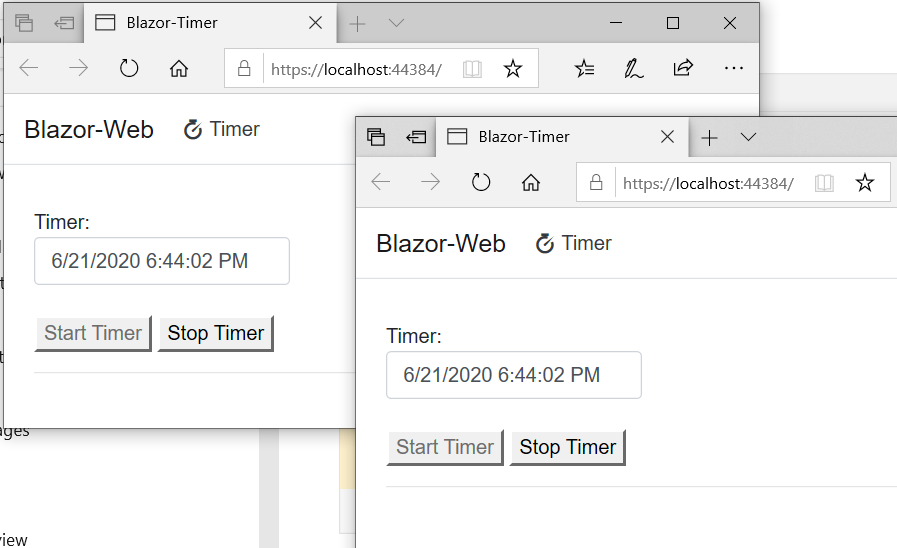
Building the project with these changes and starting the Timer, started displaying the time on connected clients as shown below:

OK, So you can see it was relatively simple to get started with Blazor and SignalR. In the next post we will see how we can integrate this with Azure Active Directory.
Meanwhile, you can look at this github repo for details if you want to explore more.